Connect your domain
Establish the sender your customers will recognize. Verify a domain your business controls by adding the DNS records maxclicks supplies, then use it for your sender profiles. This guide covers that setup and where to check its status.
Broadcasts, templates, workflow emails and editor test sends need your own verified sending domain. An in-app preview is separate from an inbox test. Form double-opt-in confirmation uses a platform address; that does not provide a fallback sender for your campaigns.
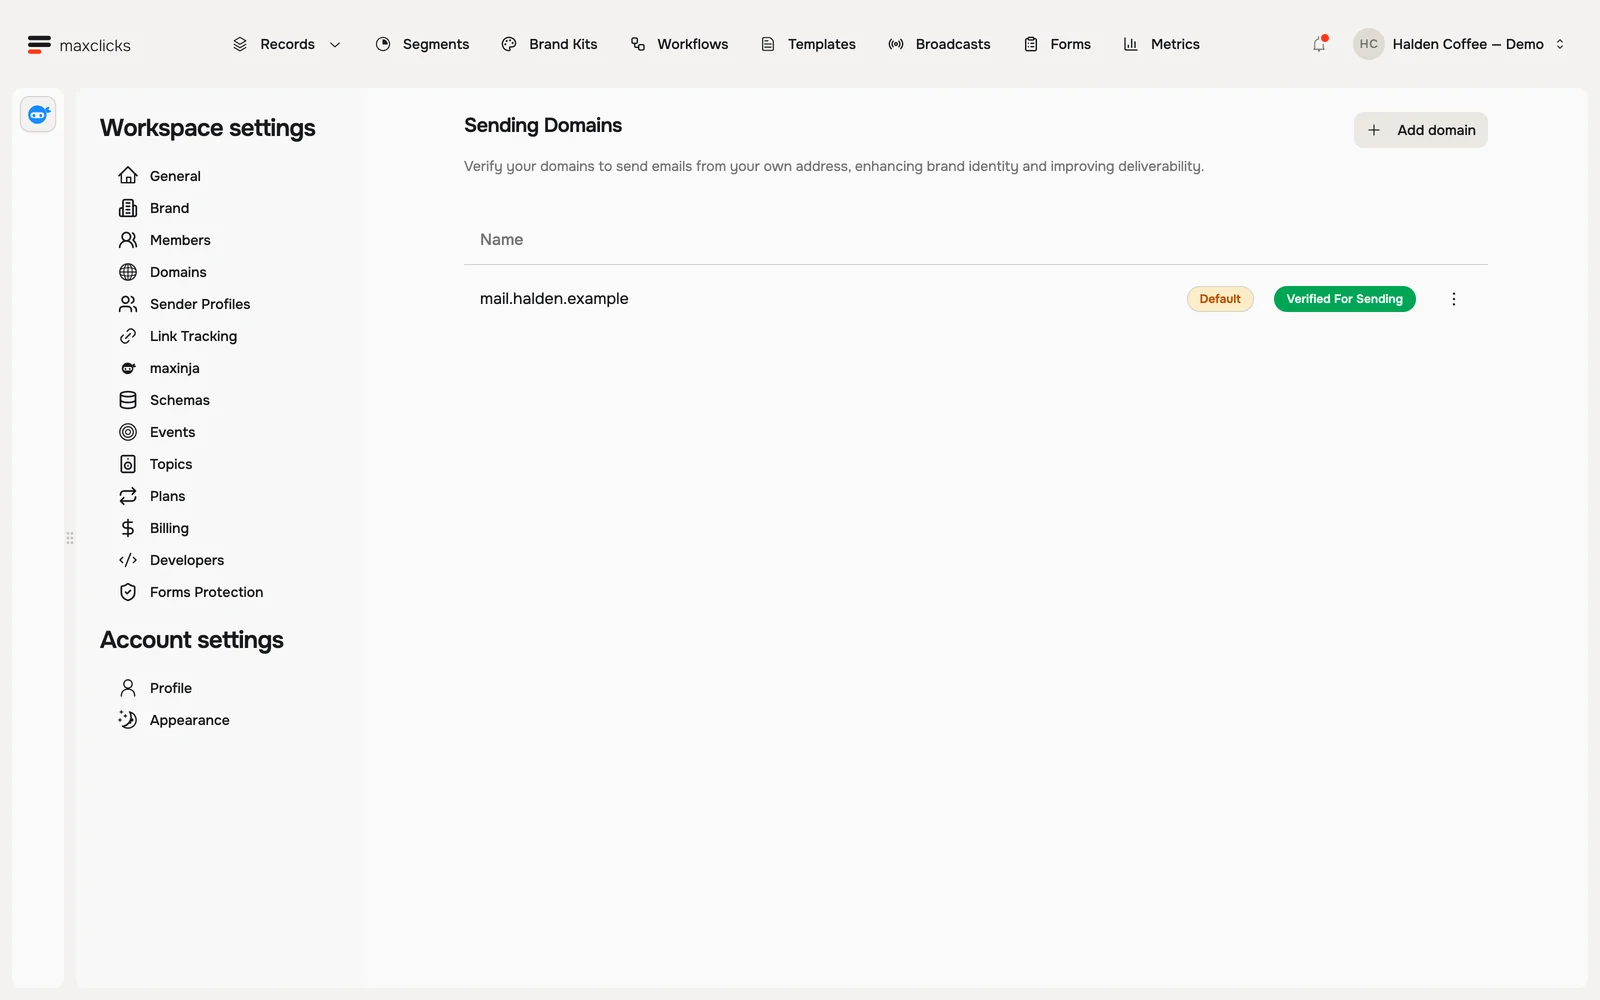
Find your domain
Open the space menu in the top bar, go to Settings, then Domains. If you named a sending domain during setup it is already listed, so select it. Otherwise click Add domain, type the domain you send from, such as "mail.yourcompany.com", and confirm.
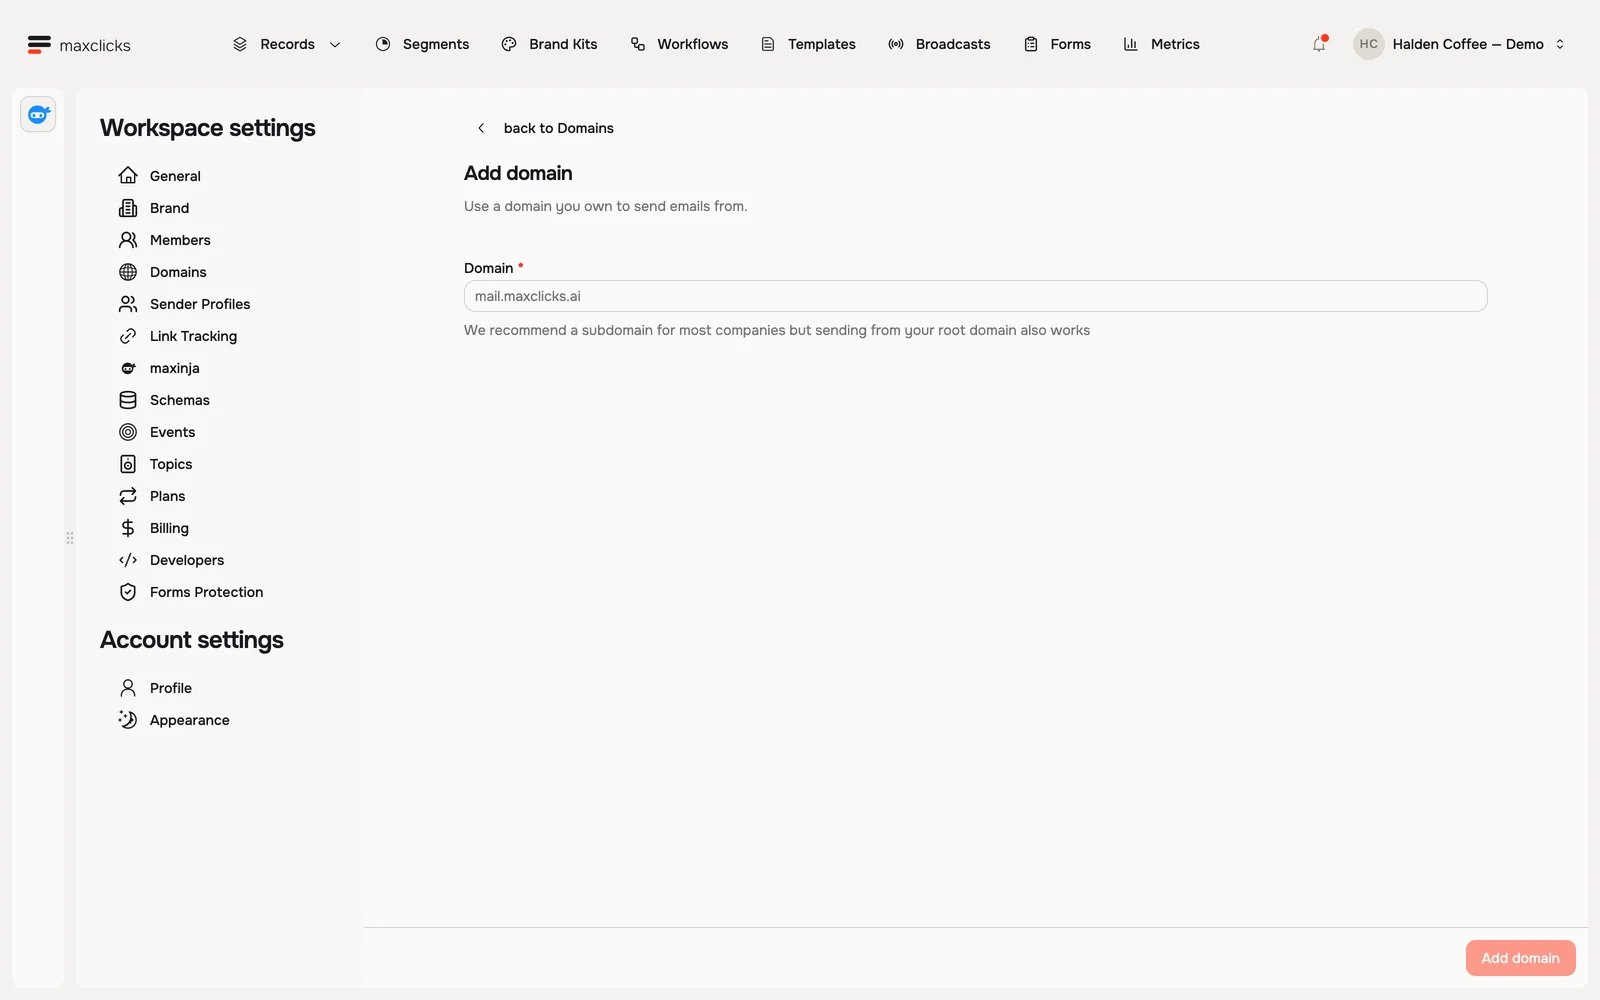
Halden demo · The first step in adding a sending domain. Walkthrough steps
Open Domains and choose Add domain. Inspect the form before submitting a domain. The existing .example domain status is local fixture data; this recording does not perform external DNS verification.
Copy the DNS records
maxclicks shows a short list of records to add to your domain: they prove you own it and sign the mail you send from it. Keep this page open, you will copy each value in a moment.
Add the records at your DNS provider
Sign in wherever you manage your domain (GoDaddy, Namecheap, or Cloudflare, for example) and find the DNS settings. Add each record from maxclicks, copying the name and value exactly. This is the one step that happens outside maxclicks.
Verify
Come back to maxclicks, open the menu on your domain's row, and click Verify, then Start verification check. The Status column beside each record shows which ones maxclicks has found.
The button starts the verification process. While the check is running, the button is disabled. A domain can look correct in your provider's dashboard before maxclicks observes the published records, so follow each record's status instead of repeatedly adding the domain.
DNS caches and provider processing can add delay. Compare the exact names, types and values supplied by maxclicks, then allow the records to become visible to verification. Read the overall Verified For Sending state before testing a real send.
Ready to send
The first domain becomes the workspace default when added. Verification makes it usable; choose a sender profile or From address on the actual email, then use Send test. Existing emails can retain an explicit sender instead of following the new default.
For a record you are stuck on, ask maxinja: "What does a DKIM record do, and where does it go at my DNS provider?" It explains each record in plain terms. To see how far along you are, check the Status column in the verification dialog.
Good to know
The same background check can also take verification away. If you remove the records at your provider, maxclicks marks the domain unverified again and every send from it stops. Leave them in place.
On the Free plan, verifying your first domain is also what grants your credits. Eligible new workspaces can receive funded maxinja setup assistance before that gift; ordinary generation and previews still need available credits. See Plans and billing.
Next
With your domain connected, add a friendly sender name under Settings, Sender Profiles, then send your first broadcast.