Create a signup form
Collect the information and communication preferences that make a signup useful. Build a branded form, connect its fields to your contact model, and choose how it appears on your site before publishing.
Walkthrough steps
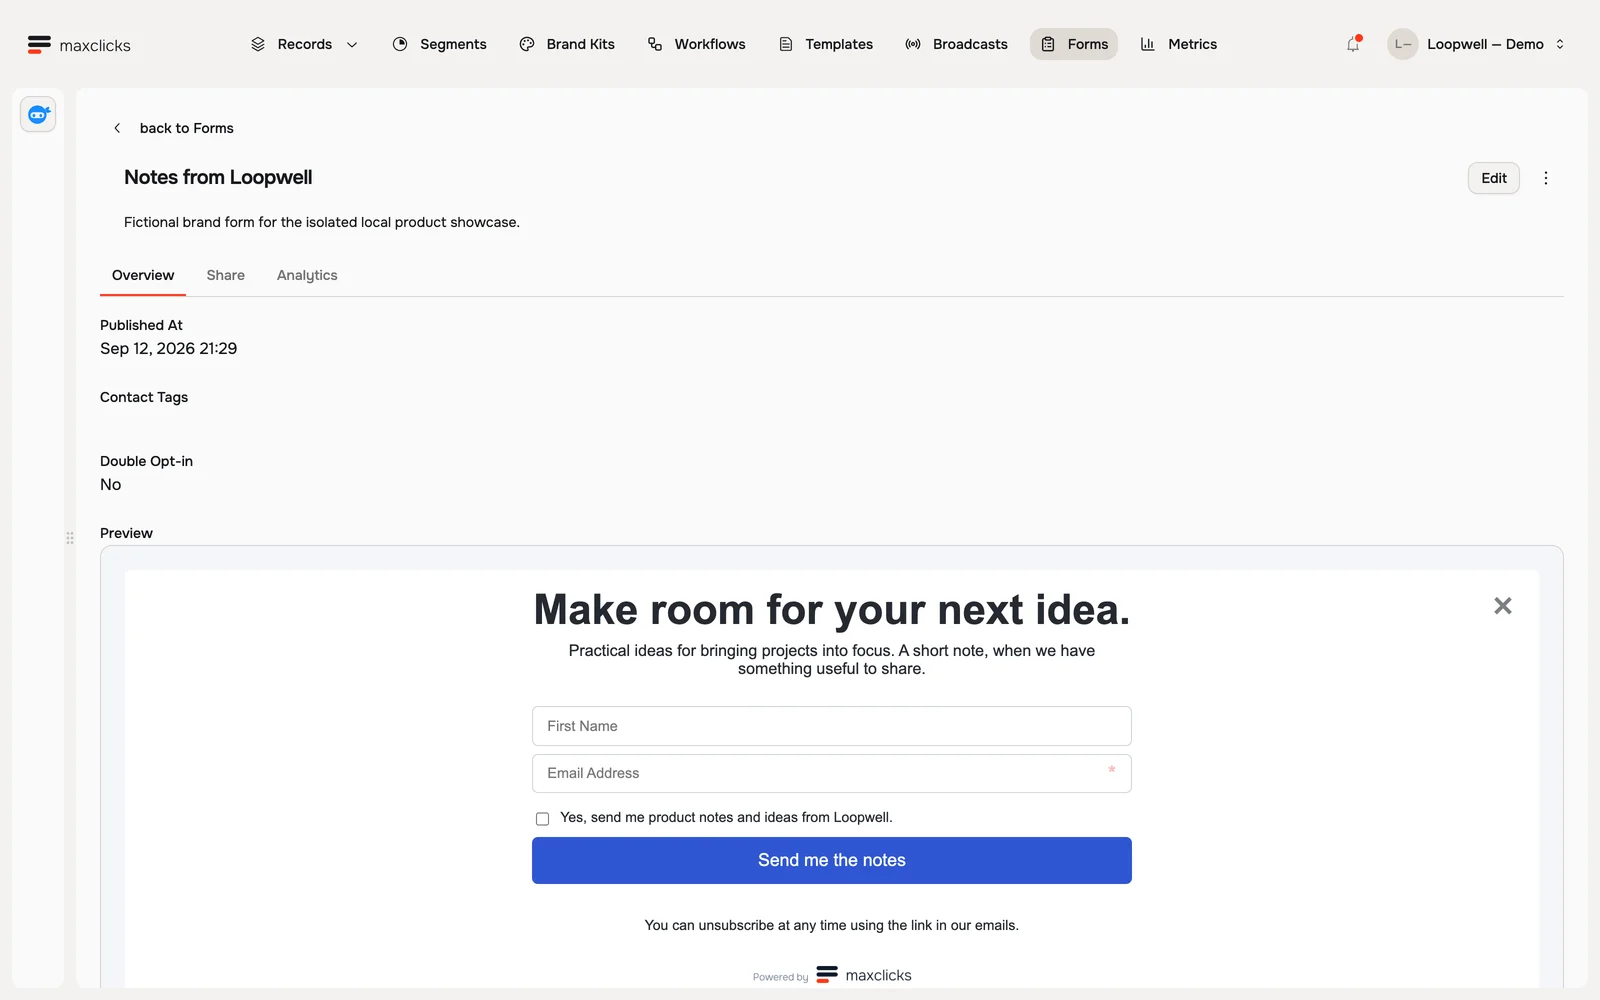
Inspect the published Loopwell form with first name, required email and optional marketing consent. Open Share to see its local hosted link and embed/API options, then return to the preview. Double opt-in is off; no form submission is performed.
Start a new form
In the top navigation, open Forms and click Create form. maxclicks creates it right away as "Untitled Form 1" and drops you in the builder, where you rename it in the header to something only you see, like "Homepage newsletter". The first section, Display Mode, is where you choose inline (sits inside the page) or popup (slides in over the page).
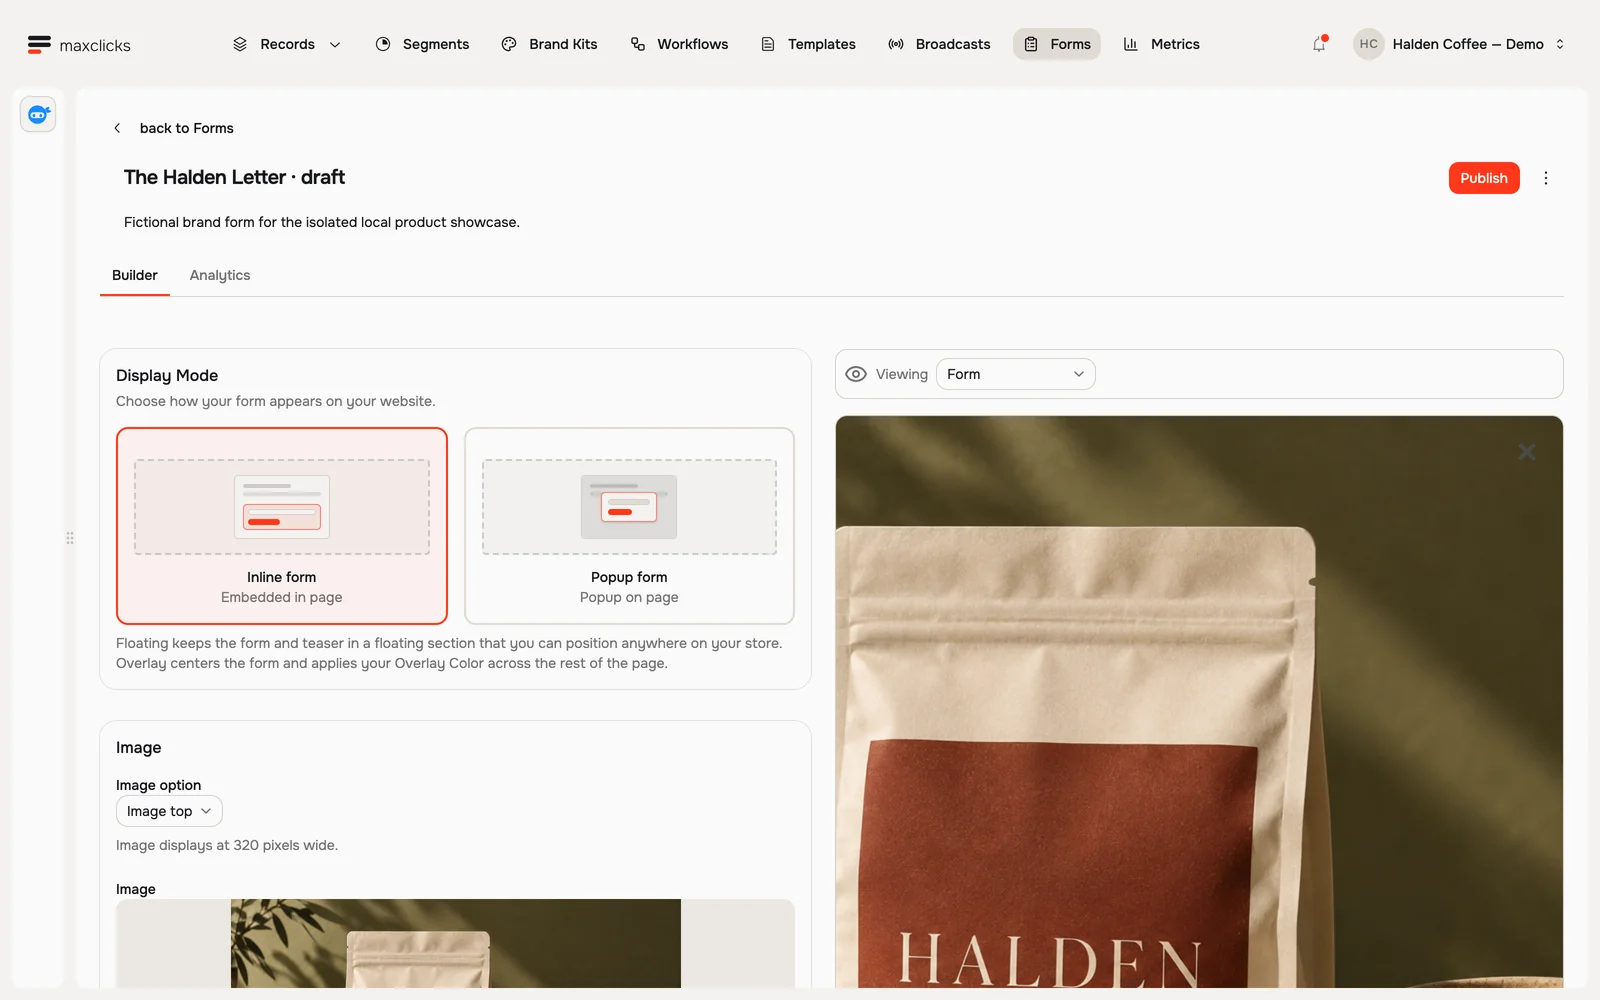
Halden demo · Draft form with inline and popup display options. Pick who signs up
Choose which contact type the form fills, so the people who fill it out land in the right list.
Choose what it asks for
Add the fields you want to collect, like first name or company. An email field is always included and always required, since that is how you reach people. Mark any other field as required if you must have it.
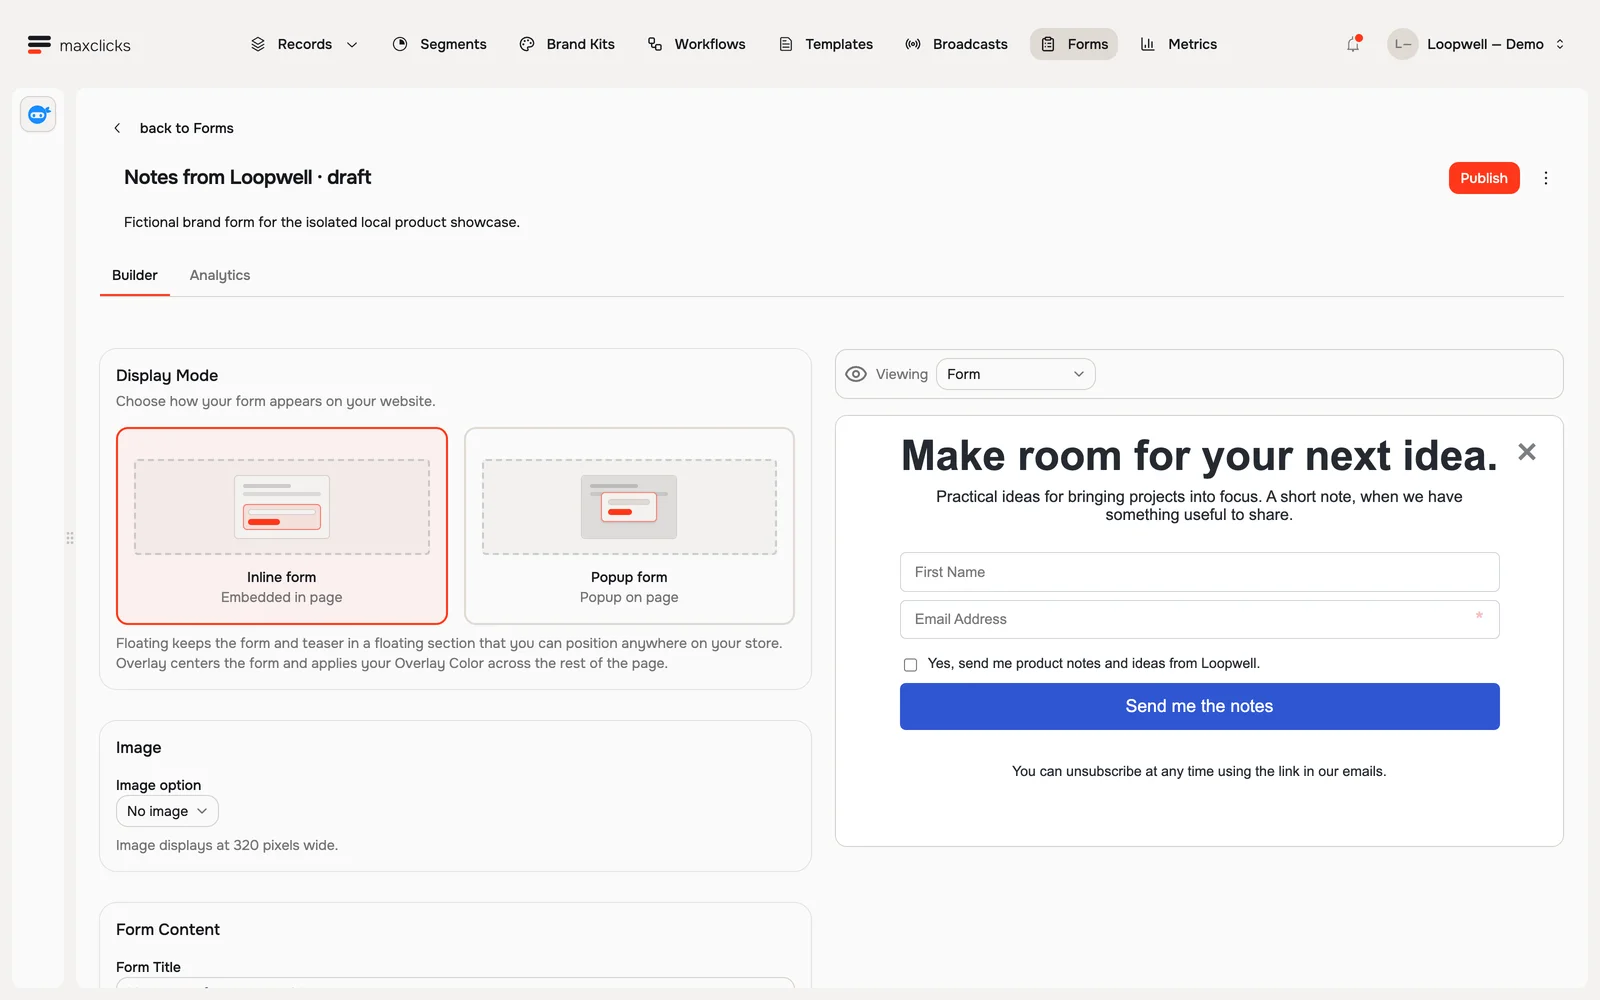
Loopwell demo · Draft inline form with a required email and optional marketing consent. Set consent and confirmation
Decide how people agree to hear from you: an explicitly described subscription on submission, only when they tick a checkbox, or none at all. Turn on Enable Double Opt-In to hold opted-in submissions for address confirmation. The confirmation link is single-use and expires after 24 hours. The hosted form uses its fixed check-email screen when double opt-in is enabled; your custom thank-you message or redirect applies when it is off. If someone declines an optional consent checkbox, no confirmation email is sent and their details can be stored immediately.
Style it and publish
Adjust the look so it matches your brand, and add a banner image if you like. Then click Publish, since a form only collects signups once it is published. Publishing also locks the form: the Builder tab is replaced by Overview and Share, and Share is where the embed code lives. To change anything later, click Edit, which unpublishes the form and takes it off its public URL until you publish it again.
Add it to your site
Open the Share tab, copy the embed snippet, and paste it into your website where you want the form to appear. New signups start flowing into your contacts right away.
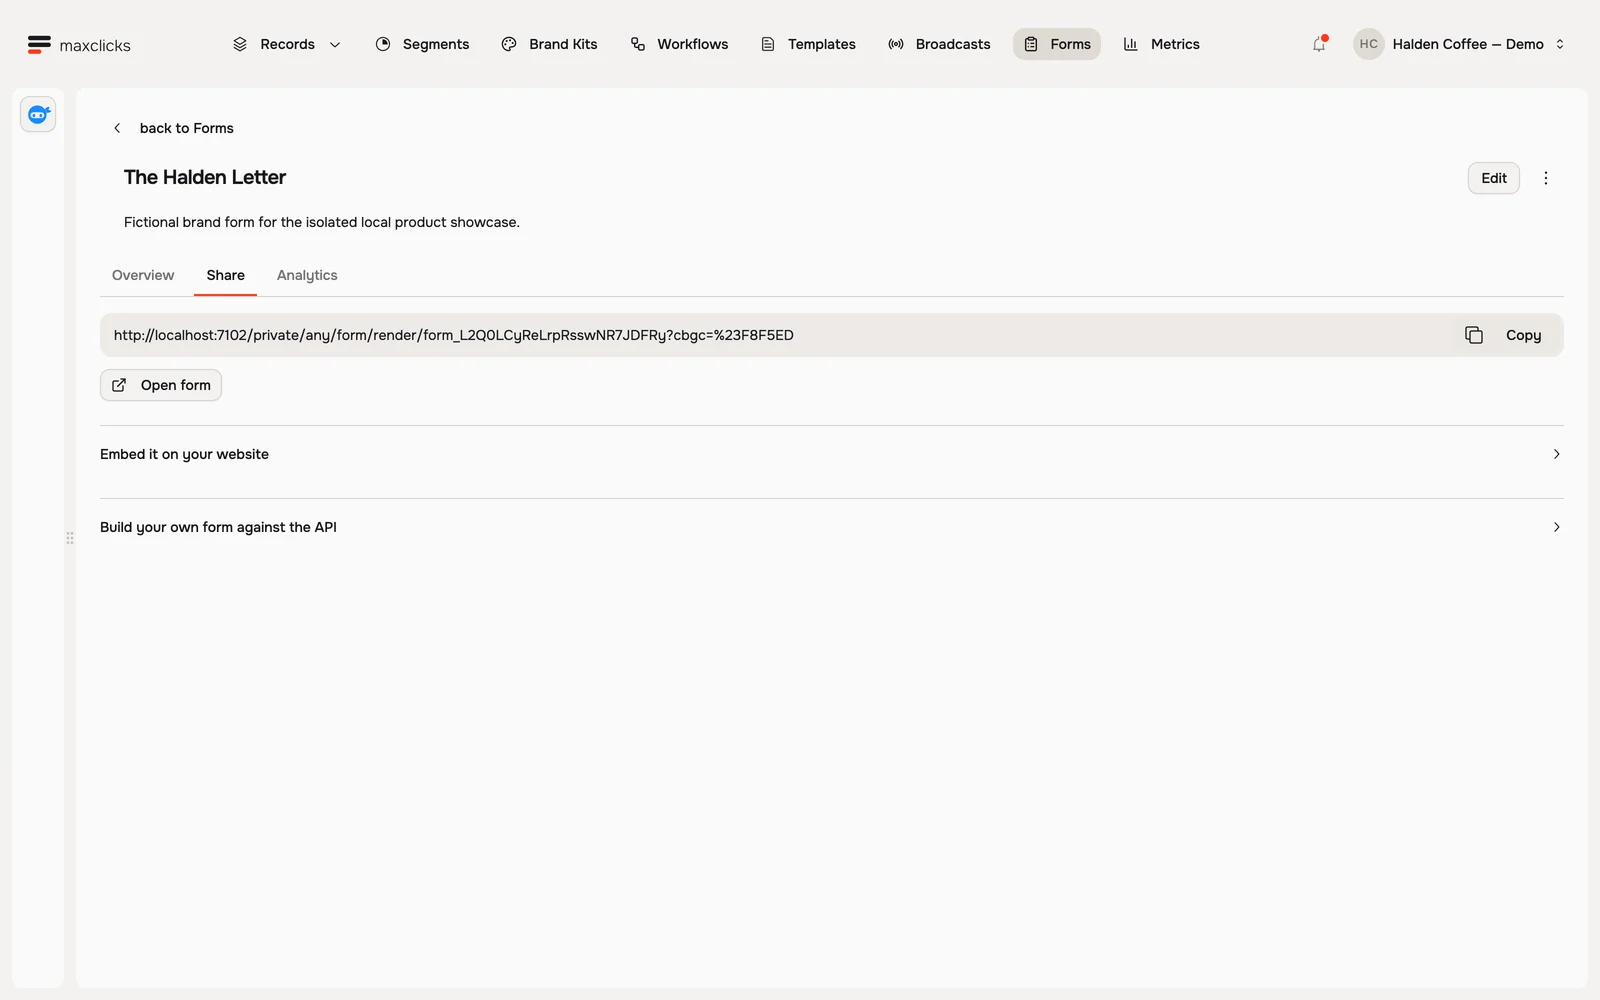
Halden demo · Published form sharing link, with embed and API options. Walkthrough steps
Inspect the published Halden form overview, open Share to find its local hosted link and embed/API options, then return to Overview. Double opt-in is off for this demo form. No form submission or external traffic is recorded.
Every form has built-in protections against abuse. Built-in rate limiting always applies, and you can turn on a CAPTCHA provider in the Form Protection section for stronger cover. If you pick a provider, add its keys under Settings, then Forms Protection. Until you do, that form cannot accept submissions at all.
Test the complete signup
Submit through the actual hosted link or embed after publication. Check that required fields reject missing values, the right contact schema receives the record, and the expected tags appear. Test both a new address and a matching existing contact.
With an optional consent checkbox, test checked and unchecked submissions. Checked adds email consent and the form's selected topics; unchecked leaves existing consent alone and creates a new contact without an email subscription. A form submission is not a way to unsubscribe an existing customer.
If double opt-in is enabled, confirm the email and verify the contact is saved only then. If CAPTCHA is configured, test it on the real site domain. A custom form must supply the provider's valid captchaToken; the embed handles this for you.
Finally inspect any workflow or outgoing webhook triggered by the contact write. Auto-fill can use credits and downstream sends still need a verified sending domain. The forms reference explains the limits and the difference between submission and confirmation.
After people sign up
Every new signup shows up in your contacts, marked as coming from a form. From there you can group them into an audience or welcome them automatically with a workflow.